~ Daihatsu Alternator ~
This is a short guide on how to wire up a Daihatsu/Nippon Denso Alternator.
The Daihatsu Alternator has long been used as an alternative to the Vauxhall, Ford etc standard items as they can be around 2-3kg lighter, fit in much smaller places and run at much higher revs.
The most popular one fitted is the Charade 1.0 and 1.3 litre variants although I personally fitted a Daihatsu Mover to my Vauxhall XE with success. Another popular choice is the Toyota Starlet and Bedford Rascal (van) which are equally small and light.
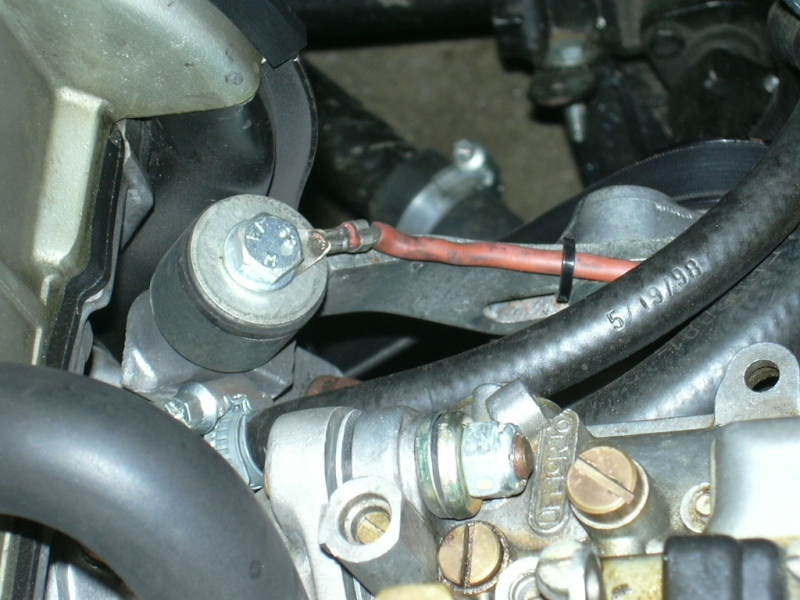
Most of these can be picked up from the salvage yard from about £20- £30. When searching for them, try and get the plug that fits into the connector socket as this makes for a tidier installation although this is not absolutely necessary. Also, they usually come with an insulating cap on the main battery feed post (grey in colour). Try and get this too as it will prevent anything shorting out against the main batter connector.
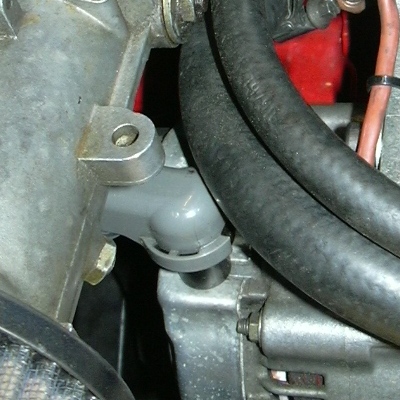 Battery post cover
Alternatively, companies like SBD, Brise and Racemettle do very small racing alternators, albeit a little more expensive than you can pick up from the breakers but they will be new and have wiring instructions, fitting kits and such like.
WIRING
Wiring the Nippon Denso alternators is very easy even though my local Auto electrician said it couldn't be done!
There are many variants of this type of alternator (27 according to my Local Auto Electrician) but most of them fall into two types of fittings, Three connectors (Type 1) and Four connectors (Type 2).
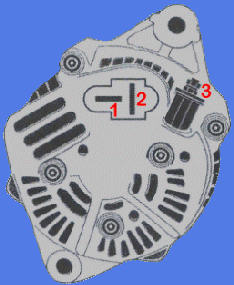
 Type 1 - Far Left
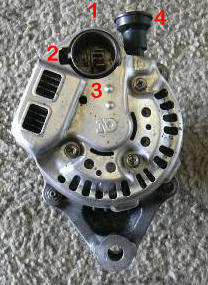
Type 2 - Near Left
Three connectors - (Type 1)
1. Connect this ignition Light
2. Connect this a switched Live
3. Connect this straight to the Battery
Four connectors A - (Type 2)
This worked on my alternator.1. Connect this to the ignition Light
2. * Not Used *
3. Connect this to a switched Live
4. Connect this straight to the Battery
An alternative to this is shown below.
Four connectors B - (Type 2)
Alternative to above.1. Connect to a permanent Live
2. Connect to a switched Live
3. Connect to the ignition light
4. Connect this straight to the Battery
This did not work on my alternator, the ignition light did not work but it was outputting charge to the battery, it may work on your alternator.
FITTING
Fitting one of these Alternators to your engine can also be done in many ways, in true Kitcar style. It's no more difficult to fitting a standard one.
1. Fabricate your own mounting.
Ensure the bracket is made of suitably think alloy/steel as they have been known to bend or break under the strain.
2.  Fabricate your own mounting.
Ensure the bracket is made of suitably think alloy/steel as they have been known to bend or break under the strain.
3.  Buy a kit from SBD etc.
These kits are very tidy indeed and may be lighter. Obviously the cost is slightly higher but it does look the business.
4. The timing belt I used was from Halford (HB845e) which was fitted to a Toyota Corrola (I think). If you make up a dummy belt with some rope, it's easy to get a pattern one from you local motorfactors.
DISCLAIMER:- All of the above is only a guide, I have used the above wiring instructions and it worked for me. As always, I would advise taking professional advise from a qualified Auto Electrician so I take no responsibility if you choose to follow the above advice